Proper Installation of a Manometer
Learn how to properly install a Dwyer Mark 2 Manometer, a standard component that comes with all RTT booths.

A manometer is a very simple, basic component, but a lot of times it is forgotten about. The manometer, part number ACC5705, is a device that is required by OSHA and NFPA to be installed on the booth.
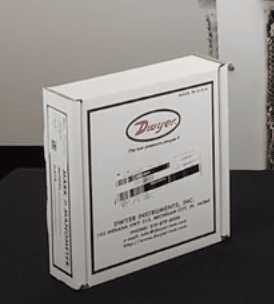
What’s in the box:
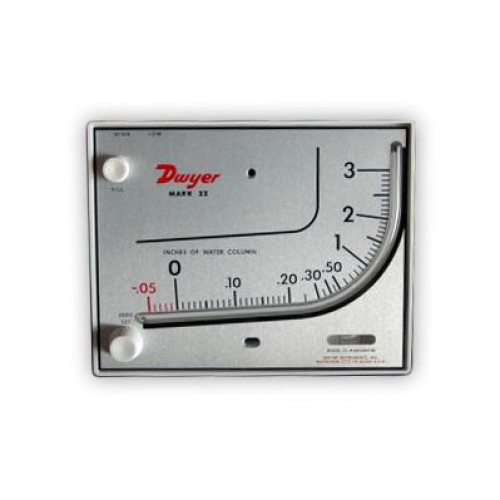
The box contains the manometer, the manual, and everything you need to properly install it in the booth. On the unit, you will see the inch of water column . This gauge is designed to read the pressure drop in the filter face. Depending on how many filters are in line between the two pressure ports, it is reading the resistance for all. You can read 1 stage, 2 stages, 3 stages all at one time, depending on how the manometer is installed.

Be sure to use the zero knob to zero out before you start to fill it. Take the know and run it all the way out, then turn the knob 3 complete turns back in. This centers the knob in the adjustment and makes sure that you have range to move back and forth to zero the knob.
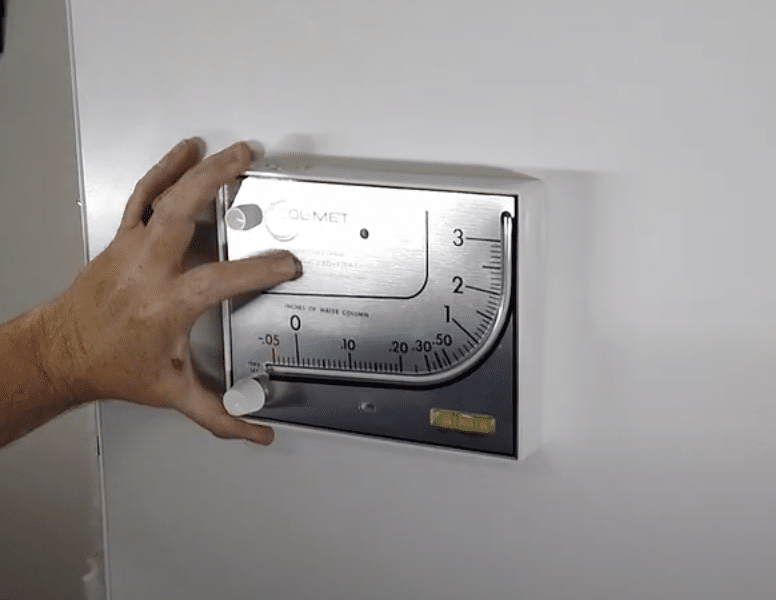
You also have a level indicator on the manometer, which is important that it is level when mounted, being that this is a liquid-filled gauge. In order to install this unit, the most important tool to have is a 1/8” drill bit to fit the mounting hardware for the gauge itself. The video demonstrates the other necessary tools used to install.
two things to consider when installing the manometer
- As instructed by Dwyer, make sure the tubing is within 3 feet of your tube fitting.
- Install the manometer directly on your exhaust chamber, if possible, to hide the installation screws, making it look nicer.

Installation:
First, you want to make the marks for the installation hardward and mount it somewhere that it is easy for the operator to see it and adjust it properly. Make sure to level the marks with a 4” line. The holes will be drilled at 3 15/16”
The way that the manometer is designed it has one of the through holes slotted so it gives you more direction to be able to get it leveled. Use an 1/8” drill bit to drill the holes and then mount the unit using the hardward provided. Use the built-in level to be sure that the unit is in the proper position.
Leveling Fluid:
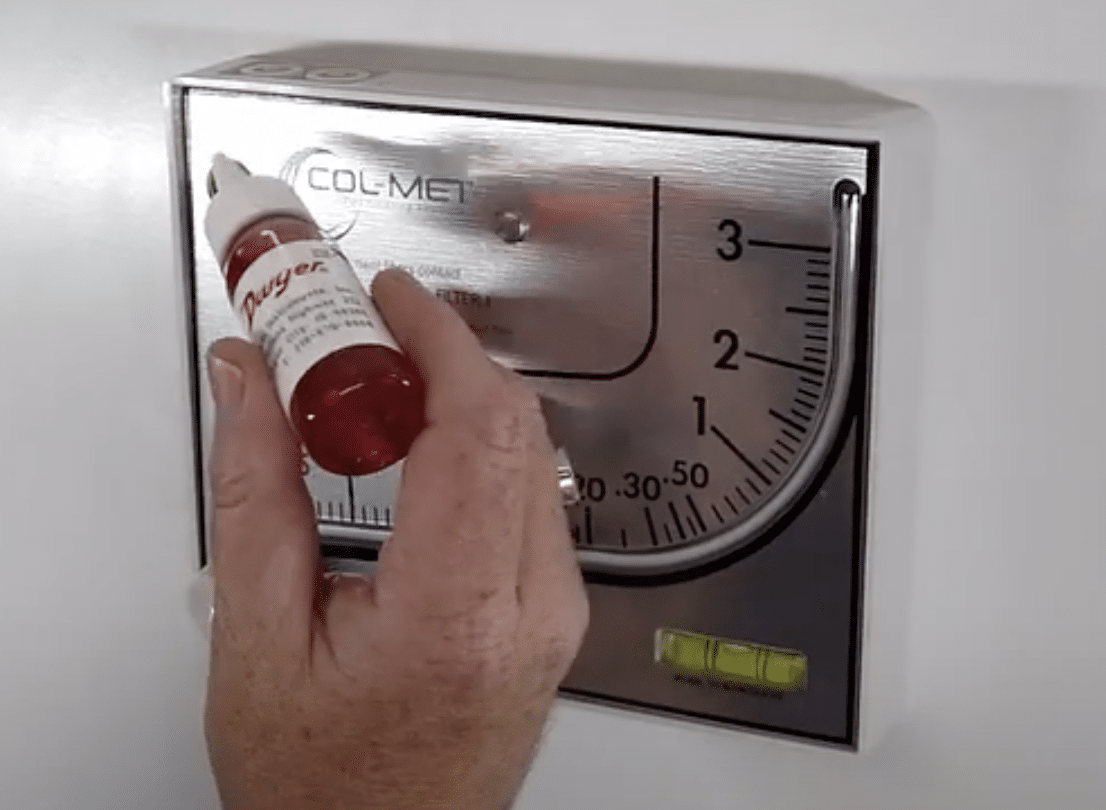
Next, you want to fill it with the leveling fluid. The zero knob should already be adjusted so you will just need to take the fill cap out. One thing to remember is if you are ever adding fluid, make sure you have both pressure tubes and the fill cap off the manometer.
You will want to add the fluid slowly because once you start to see the fluid, it comes up quickly and it’s possible to overfill. If that happens, you will need to use a pipe cleaner to remove the fluid. Get it as close to zero as possible so that you can adjust the zero knob if needed. Put the fill knob and pressure tube back onto the unit.

Tube Fittings:
Now we focus on putting in the tube fittings. You have one low pressure side of the unit and one high pressure side. The low pressure side will be on the back side of the filters. And the high pressure side will be on the front side or inside the booth itself to read the pressure.
First, we will set the low pressure side on the inside of exhaust chamber. You want to use something to cover the ports on top so that you do not get any shavings from drilling inside of the unit. Go directly above the manometer itself and drill a pilot hole using the same 1/8” drill bit.
Come back with a 3/8” drill bit for the fitting. Be sure the ports are still covered and drill the larger hole and get enough through hold for the fitting. Now take the tubing fitting with the washer and slide it through the through hole and go to the back side with the washer and the nut. Be sure to screw it in nice and tight and then snug it up with a crescent wrench.
Now come in with the tubing. Secure the tubing on the port on the manometer. Use the side of the tubing without an indicator and get a rough measurement for a cut. We recommend going a little longer just to be safe. Once it’s cut, it’s time to install the tube from the unit into the booth, making sure to get it nice and tight.
